SE-700 Connection Guide
The current version of the SE-700 Firmware and Control Software is 1.2.2.8
Once connected and updated, you can set the switcher to either a DHCP (default) or Static IP address. With static, you can directly connect your SE-700 to a PC for operation without a router using a crossover cable.
If there are any issues initially connecting the unit to the router, I recommend following the below steps to troubleshoot any local network issues:
-Connect your PC and SE-700 to the same router
-Log into the router
-Check/Set your LAN gateway IP
(Via LAN setup, check router's user manual for steps)
-Look at your router configuration's list of attached devices
-The SE-1200's MAC Address is 1E:ED:19:27:1A:B3
-Remember/write down the IP address, or reserve a specific address on the DHCP network
(Via DHCP/Address reservation, check router's user manual for steps)
-Load the SE-Controller software
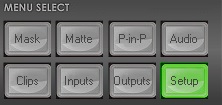
-Click the Setup on the control panel
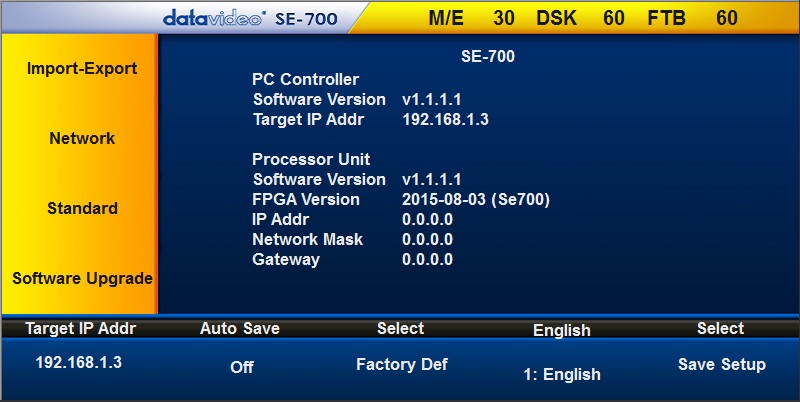
-Click "Target IP Addr"
-Change the IP address to match the SE-700 on your network.
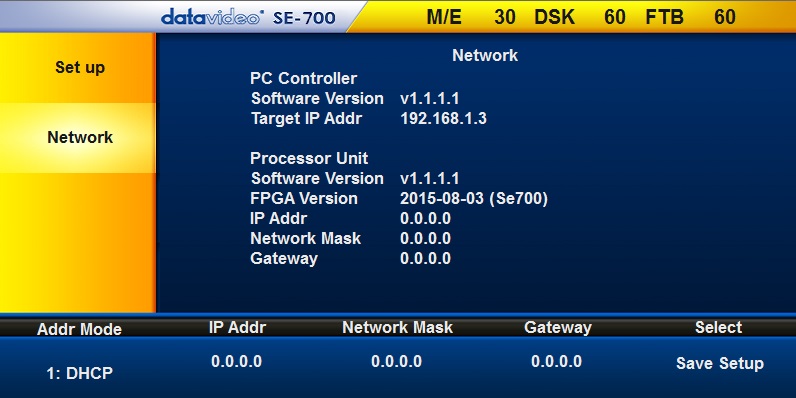
-When you click/press enter, you should see the following information with your current firmware version.
If not:
-Restart the router
-Restart the switcher
-Check and repeat the above steps.
Please Note:
-Your Target IP Address may differ from 192.168.1.3 depending on your network settings.
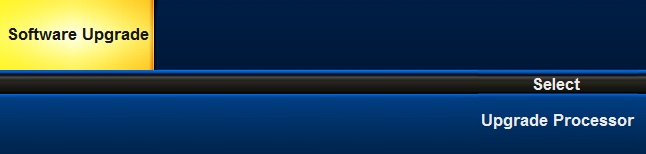
-If the Processor Unit Software Version is earlier than v1.2.2.8, you can either update via USB or click Software Upgrade to update the firmware. Once updated, you will need to restart the switcher and reopen the SE Panel software.
-The IP, Mask, and Gateway display zeros if you are in DHCP mode. If you want to set a static IP for the switcher, click the "Network" button on the left.